Unlock Your Streaming Potential: Install VPN on Android TV
The digital landscape is evolving, and with it, the way we consume entertainment has transformed dramatically. With platforms like Netflix, Hulu, and Amazon Prime dominating the scene, the demand for internet security and privacy has never been higher. This is why learning how to install VPN on Android TV is essential for any avid streamer who values their online freedom and security.
What is a VPN and Why Do You Need One?
A Virtual Private Network (VPN) functions as a secure tunnel between your device and the internet. This technology encrypts your data, ensuring that your browsing habits remain private from prying eyes, including hackers and your Internet Service Provider (ISP). But beyond privacy, a VPN offers a myriad of benefits:
- Access to Geo-Restricted Content: Streaming services often limit content to certain regions. A VPN can help you bypass these restrictions.
- Enhanced Security: Protects your data when you're on public Wi-Fi, keeping your personal information safe.
- Faster Streaming: Some ISPs throttle bandwidth during peak hours. A VPN can help maintain your connection speed.
- Safe Online Transactions: Whether you're shopping or banking, a VPN can help ensure your activities are secure.
How to Choose the Right VPN for Android TV
Selecting the best VPN service for your Android TV is crucial. Here are key factors to consider:
- Compatibility: Ensure the VPN is compatible with Android TV.
- Server Locations: A wider range of servers increases your chances of finding a faster connection.
- Streaming Support: Not all VPNs work with streaming services. Check for those that do.
- Speed and Performance: Look for reviews that analyze connection speeds.
- Customer Support: Opt for a VPN that offers robust customer assistance when needed.
Step-by-Step Guide: How to Install VPN on Android TV
Step 1: Choose Your VPN Service
Start by selecting a reliable VPN service that suits your needs. For instance, ZoogVPN is a popular choice known for its security features, fast speeds, and ability to bypass geo-restrictions.
Step 2: Download the VPN App
Once you have selected your VPN, follow these steps to install VPN on Android TV:
- Go to the Home screen of your Android TV.
- Navigate to the Google Play Store.
- Search for your chosen VPN provider (e.g., "ZoogVPN").
- Click on Install, and wait for the application to be downloaded and installed.
Step 3: Open the VPN App
Once the installation is complete, you can find the VPN app in your apps section. Open the app and log in with your credentials. If you don't have an account, sign up directly through the app or on their official website.
Step 4: Configure Your VPN Settings
After logging in, you may want to adjust your settings:
- Choose Your VPN Protocol: Most VPNs offer a variety of protocols. OpenVPN is commonly recommended for its balance of speed and security.
- Enable Kill Switch: This feature protects your privacy by ensuring that your internet connection is cut off if the VPN disconnects.
- Select Server Location: Choose a server located in a country that hosts the content you want to access.
Step 5: Connect to the VPN
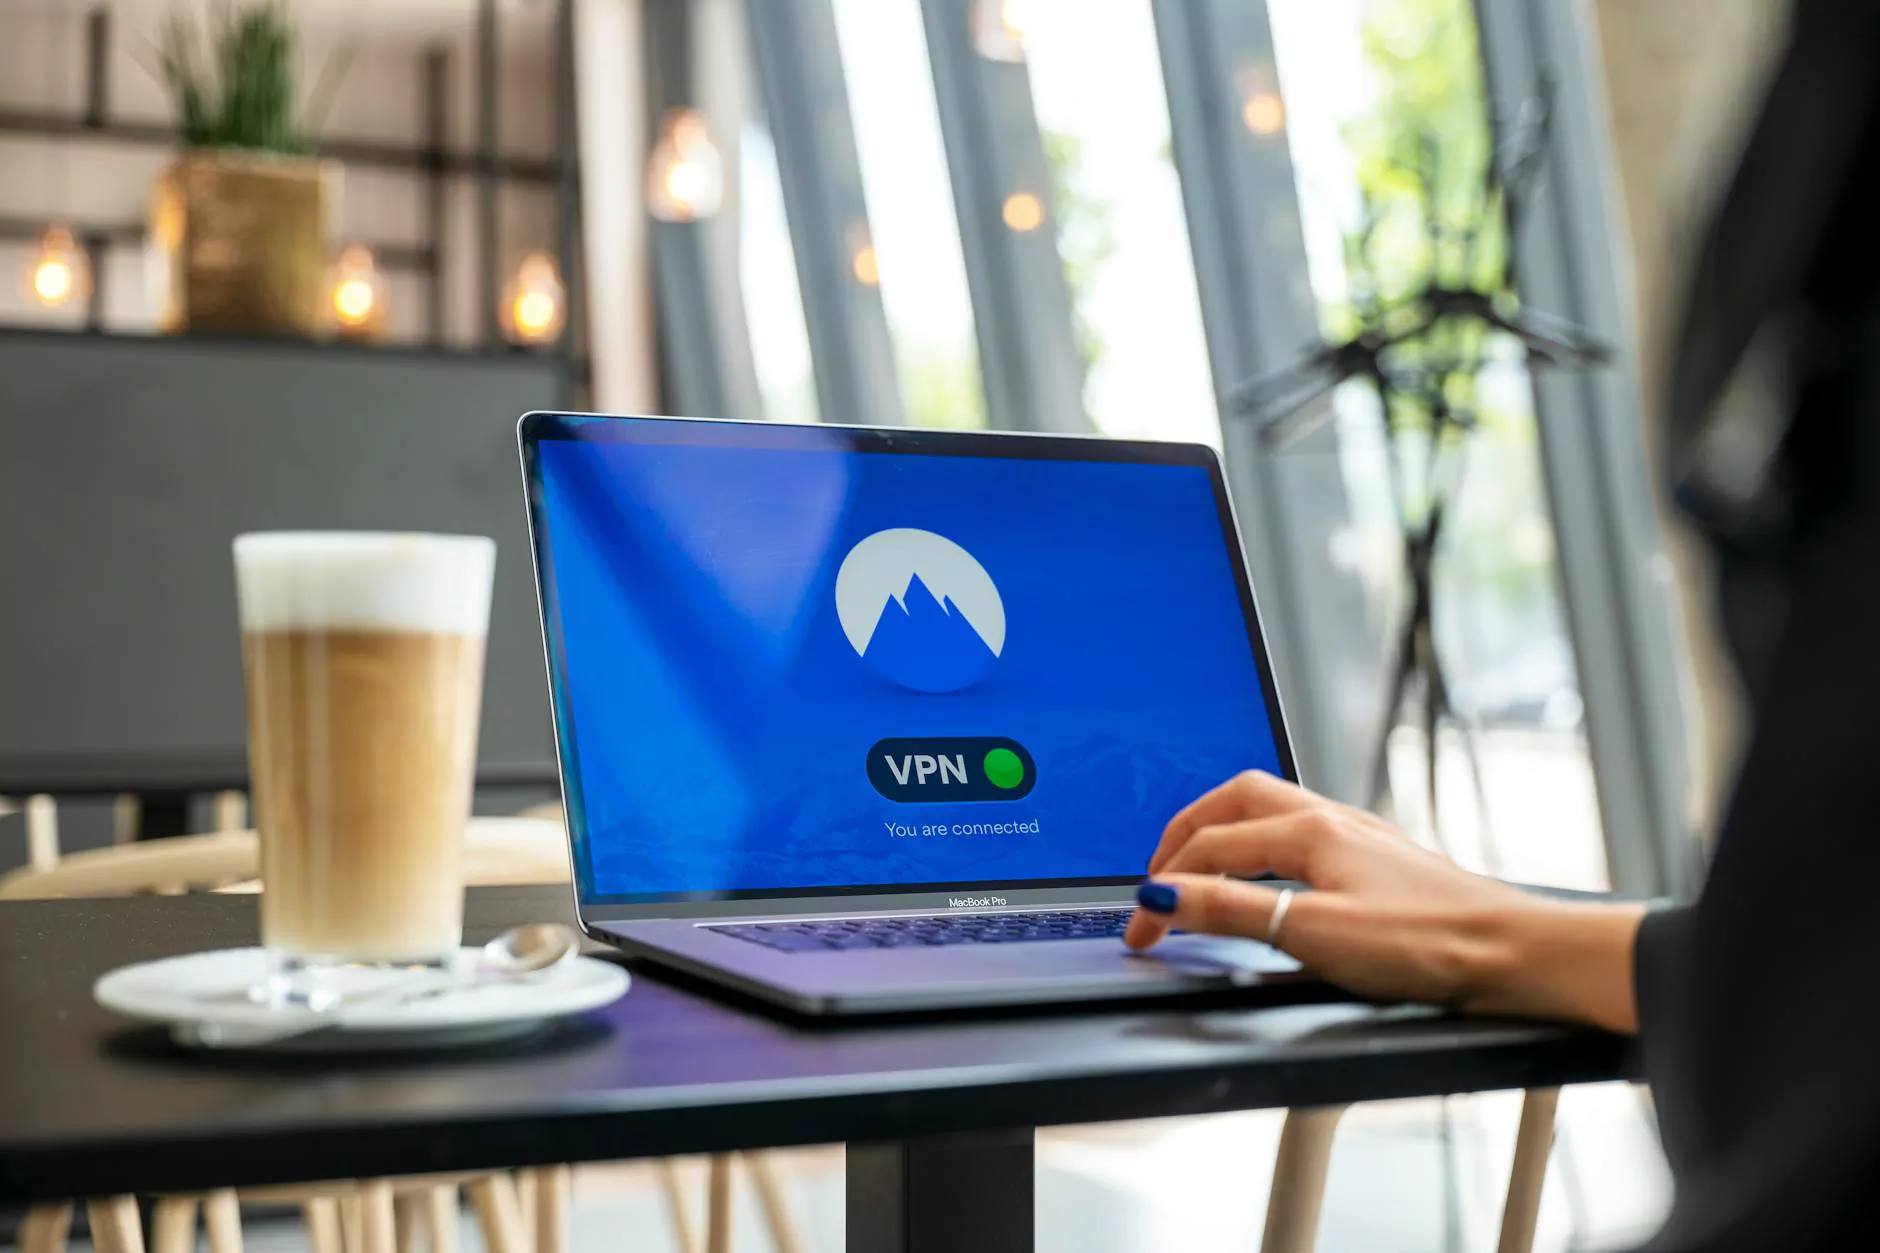
Click the Connect button within the app. If you have selected a server location, the app will connect you to that server. You should see a notification that the VPN connection is active.
Step 6: Start Streaming Securely
Now that you’re connected to your VPN, you can start streaming your favorite shows and movies without restrictions. Open your preferred streaming app, and the content should be accessible as if you were in the designated server’s country.
Tips for Optimizing Your VPN Experience on Android TV
To ensure a seamless streaming experience, consider these additional tips:
- Test Different Server Locations: If you experience slow speeds, try connecting to a different server.
- Regularly Update Your VPN App: Ensure that your VPN app is always up-to-date to benefit from the latest security features and performance improvements.
- Use Wired Connection: For optimal speed, consider connecting your Android TV to the internet via an Ethernet cable rather than relying on Wi-Fi.
- Monitor Connection Speeds: Test your connection speed when connected to the VPN and adjust settings accordingly.
Common Issues and Troubleshooting Tips
If you encounter any problems during or after the installation, here are common issues and their solutions:
Issue: VPN Fails to Connect
Solution: Check your internet connection. Ensure that your VPN credentials are correct, and try selecting a different server.
Issue: Slow Streaming Speeds
Solution: Switch to a server that is closer to your actual location or try a different VPN protocol within the app settings. Sometimes changing the server or location can drastically improve your connection speed.
Issue: Android TV Not Recognizing VPN App
Solution: Ensure that your Android TV is running the latest version of Android. Restart your device and try reinstalling the VPN app if the problem persists.
Conclusion
Installing a VPN on your Android TV is essential for harnessing the full potential of your streaming services while ensuring your online privacy and security. With a VPN, you can easily access a world of content from anywhere, evade ISP throttling, and enjoy a secure, uninhibited browsing experience.
Follow this comprehensive guide to install VPN on Android TV without any hassles, and unlock limitless possibilities for your entertainment while safeguarding your digital identity. No matter which VPN service you choose, the steps outlined above will help you transition seamlessly into a more secure streaming lifestyle.
Explore More with ZoogVPN
To get started with the ultimate streaming experience, consider checking out ZoogVPN. With its user-friendly interface and robust security features, you can enjoy peace of mind while accessing your favorite content from around the globe.